Setup - Tips and tricks of the trade!
Here is a few tips and tricks on how to setup a Pike model.
They will not help you win a contest but will give you a few hints on how
others do things.
How to set up a full house sailplane
There is a lot of FAI models out there. I am sure that
there are many models out there that is not used to their full potential.
This article might help slightly to get them work that air a bit more.
There are a lot of ways to set up a model for the classes F3F, F3B and F3J. So
do not see this as a recipe on success but maybe a good guide on the way.
What functions are we after? I reckon you the pilot have got yourself a
modern computer radio and a plane with 4 servo wing. I see this as a minimum
to have fun on the flying field... These are the controls we are after:
Aileron, elevator, rudder, brake (called butterfly) and flaps (camber).
Aileron:
We wish aileron on all wing surfaces. To fly only thermal one can only use the
outer surfaces (ailerons). But as soon as we are on to F3F/F3B we want apx
half the amount aileron deflection on the inner surfaces (flaps).
Differential: To make a model turn better in a given speed we need to use a
function called differential. This function (or mix) makes the ailerons and
flaps go less down than up. Differential can even make the model yaw every
time we use the aileron stick. The result is a kind of rudder. You will most
likely want different differential at different flying speeds. As a simple
guidance for thermal flying: 1/3-1/2 down versus 1 up. Speed and acro: 1/2
or equal down versus up. In speed acro you want the model to roll straight
in the given speed. In F3F some want the model to yaw in before the turn but
mostly this is done by rudder.
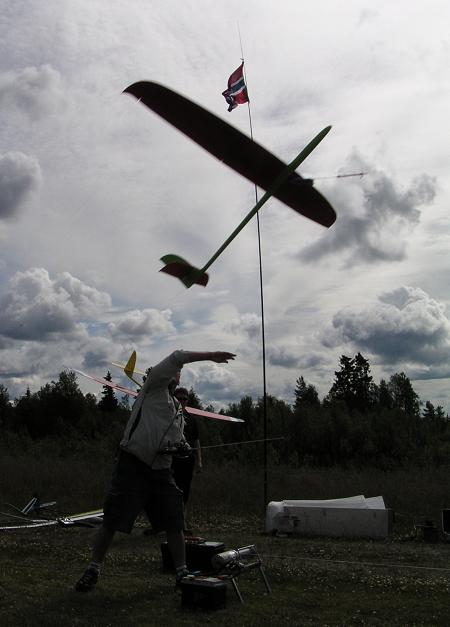
A good launch is important.
Elevator:
As a main rule you want equal amount up elevator as down. But it is so that CG
(central of gravity) and construction have something to say here. It is also
so that a more aft CG should have less elevator throw. Be aware of this as
one often changes the CG in different tasks. If the model gets very
sensitive but one still wants the throw you can: Have less down elevator or
use exponential. Exponential makes less throw around "dead-stick" but will
give you full throw with the stick in either position. Normal exponential is
20-40%. The amount of throw on a model can me set at the following way. Fly
as fast as you think you will fly with the model in any given situation (a
good speed or a super launch). The model should turn hard without tendencies
to drop a wing or not follow the flight path. In competition most pilots
wants to be able to use the whole stick movement while turning. You then
have better feeling of the model in accordance to the stick and thereby
better control. There is one more function/mix that have to be considered
together with the elevator throw. "kick-flap" is a mix that allows all
surfaces to move together with the elevator. All surfaces down = more
camber/lift and thereby same as elevator up throw. And off course opposite.
In some conditions (distance downwind turn) one can also use the opposite to
give more speed thru a difficult turn. Use this mix wisely as not all
models/profiles/hinge lines will give you a benefit of this mix. On a new
model I would always start without this mix.
Rudder:
The rudder is worth a chapter for itself. Sadly there are not many pilots that
have learned to use the rudder. The rudder is there to keep the model in the
flying direction and preventing it from yawing. The best way of
understanding the rudder function is to take a flight with a full size
sailplane. In the cockpit glass you will see a wool thread just above the
pilot. This shows the wind direction compared to flying direction. All other
cases than that the thread goes straight backwards is big loss in energy and
thereby speed/altitude.
T or X-tail rudder: Equal to each side but not more than that it actually
works. Too much and the rudder will only slow you down or make it tip-stall.
V-tail rudder: Equal up/down but also here there can be some differences in
models. If the model sets its nose down much you can reduce the down
slightly. But not too much as it will give you a wrong feeling when
circling.
Combi-switch: Sadly there is a mix that is called combi-switch that many finds
on their radio. This is often miss-used. It will give you rudder movement
when you use your ailerons automatically. This is fine coming into a turn
but will have the opposite effect compensating or coming out of the turn. So
turn this mix OFF. There are two times you might want it to be on: - When
flying F3F competition and you are a good pilot you might want it but only
slightly as a help. Any compensation of flight path between the bases will
result in wrong input. - In the launch mode it can be used if you use a
separate launch mode on your radio (so that it is off in any other flying).
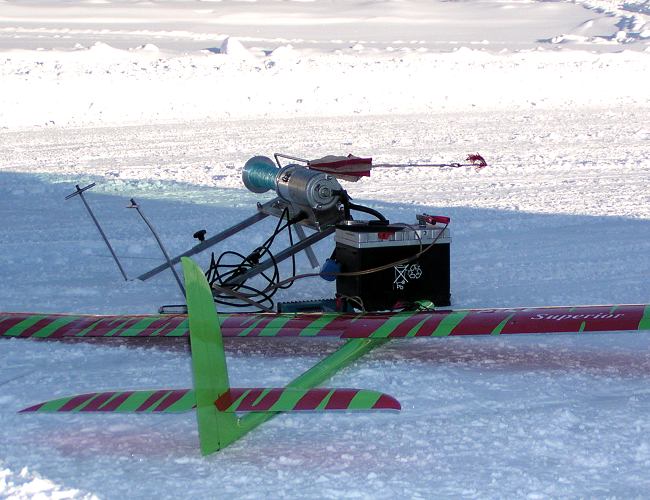
Equipment in good shape is important. Dont let it sit in the
garage during the winter.
Brake:
This I would like to call butterfly or crow on our sailplane models. When
flying the brake is like an motor for us. The butterfly function should be
on your throttle stick. Forward full speed and back for brake. With full
brake the following should happen: Ailerons slightly up (5-10mm), flaps as
far down as possible and elevator slightly down as compensation for the
increased lift in the wing. There is no "hocus-pocus" with butterfly but
often a little work to get the correct elevator compensation. Even full size
airplanes use butterfly. Compensation on butterfly should be dialed in at
both half and full brake. The model should put nose slightly down to
maintain airspeed. Often a model will need more compensation on half brake
than full. If not possible to set two settings then reduce the flap to 60-70
degrees. Mostly this is sufficient to give enough brake anyhow.
Flaps:
3 kinds of flaps are wanted and also the kick-flap as mentioned in the
elevator section. When I write about flap I now mean all surfaces on the
wing not only the "flaps". Camber is a good word and means changing of
airfoils lift.
Start camber: When we start with winch/runners one needs to have a bigger
camber / more lift on the wing than the model is produced with. This because
the model will work as a kite not a flying model. Before the zoom we want to
use the energy captured in the line and turn this to "flying energy" =
speed. Dependent of model type and condition you will need 10-30 degrees
launching camber. The launching camber is also dependent on where the hook
is and the position on the elevator. We might need to set up different
settings for different type of conditions. In strong headwind you need less
camber and the hook seated so that the model will increase the tension on
the way up. You will hopefully hear the line tension and speed increases on
the way up. Mostly pilots have the same settings for normal conditions and
strong wind. In poor launching conditions (wind from the back, high altitude
or more ballast) you might need more launching camber and the hook should
not be to far back. In these conditions we mostly try to use as little line
as possible and this is done by line tension not speed. As a general rule
you want equal camber on flaps and aileron surfaces. Many use less on the
ailerons but this is wrong and can make your model "yaw" on the line or
maybe tipstal. If the hinge line on the aileron surfaces are much less then
try to figure out if the degrees of camber is the same. So aileron camber
can be less if the angle is the same.
The hook is normally seated just in front of the pressure center of the wing.
The pressure center will alter much when you add camber... The CG has almost
nothing to do with hook placement. 50-100kg of tension will take away any
effect of CG. You will want the model to rotate heavy just after the throw.
With too far aft hook the model will over rotate and "pop-off" giving you a
relaunch. Too far back will also make the model be "forced forward" in the
air and your winch will "eat" valuable line length. Always start with
recommended settings from the producer or a pilot you think knows better.
Add/reduce launch camber until you are satisfied in one type of conditions
and write this down. 5mm altering of the hook can make as much as 50m launch
height so use much time on launch practice in different conditions. A good
launch on a F3B winch in calm conditions is 230-250m. In good conditions one
can achieve 300-350m and the opposite in backwind one can have 180-200m or
even only 150m sometimes.
As a main rule one want just as much launch camber on ailerons as on flap. But
on some models you want slightly less as the hinge line is different. The
point is that we do not want wash out on a wing in launch as this is only
drag. We want the whole wing to fly all the time. I must take hook setting
at the same time because camber and hook works together. The hook should sit
just in front of the pressure point in the wing and this will change a lot
with different camber. Most often we set the hook just in front of the CG
but as mentioned it can vary a lot. Since the pressure point in different
settings normally is not given one should start with the recommended setting
or make contact with someone that have flown the same model for a while.
Launch camber, hook placement, etc. is a difficult issue to handle and I
cant give you a 100% correct answer as all plans are different. But a few
facts must be stated: More camber = more backwards hook. More start flap =
you go slower up the line. You want to go as steep climb as possible but
with the highest speed possible. At the same time you want to stretch the
line to build up a bungee effect for the zoom. The more stretch - the better
height you will get.
Launch camber is normally set with a switch and some like to adjust it by a
lever previous to the start (to set for different launching conditions. The
switch needs to be with easy access and equal on all your models so that
there are no hesitation when you switch it off just before the zoom.
Speed flap: When flying speed and distance we often want a faster airfoil. How
much depends on the conditions you are flying in and type of model. It is
done by all surfaces on the wing goes up 1-5 degrees. Mostly on only uses
one position or neutral.
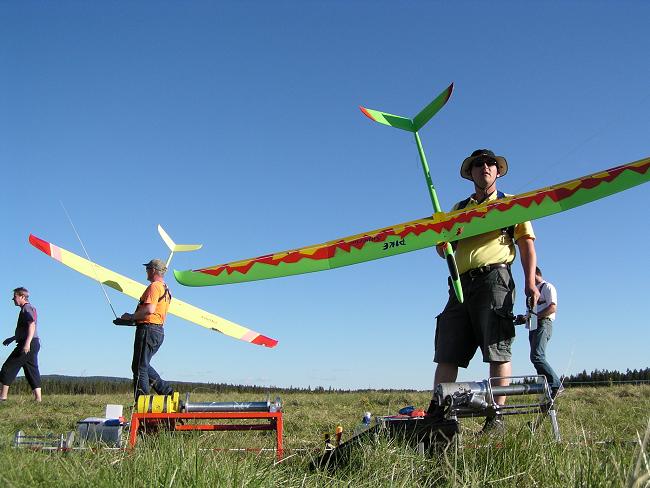
Are you ready to win this round ???
Thermal flap: When flying duration and partly distance we
want to change the airfoil so that it becomes more lifting (1-10 degrees).
This is done by all surfaces on the wing is going down. How much is
depending on a lot of factors. As a main rule we want more camber the better
air you are flying in. For moving around you want as little as possible (in
most air conditions but this might change at altitude). When you find the
lift you use as much as possible but not so much that the model becomes "low
tail" or critical to fly. Most pilots adjust thermal flap by a switch or
maybe two. Some likes to also adjust it on a lever. But mostly you want as
few switches as possible. The difference is anyhow mostly on the pilot
control.
So how many switches/settings are we up in now ?
Start camber: 3 positions - launch/neutral/much wind
Duration: 3 positions - Strong thermal/neutral/small thermal
There are many solutions to setup of switches and often each radio provides
"their ultimate" solution. For the most advanced radios I can supply my own
setup that I think works fine:
Only two switches. One 3 point and one 2 point switch seated on top left of my
radio. I use these switches to control my flying modes. So many things
happen at the same time when I switch one of them.
- Switch one have the following functions: Forward - speed mode, Middle -
neutral flying, Backwards - Launch mode.
- Switch two have the following: Forward - switch one is working, back and you
are overriding switch one and are in thermal mode with positive camber.
All camber can be adjusted by my lever.
Hope all this txt gave you some new ideas. Remember one can always develop
further and all needs to find "their setup".
Jo Grini