|
Broken fuse fix
This is a description on how to fix a
broken fuse in less than 2 hours + curing time
Time to show people that things
can be repaired? Of course, not everything is worth repairing. But most things
can be fixed and you don't always have to buy new parts. I do not show polishing
and painting, as these are competition models and then paint and refinement do
not play a role for the flight. This repair still gets a plaster, but not
lacquered since carbon gets fine by itself!
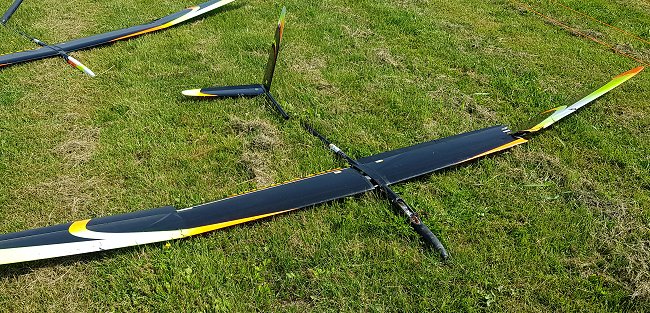
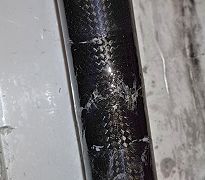
This repair took 1 hour and 15min the next day. Here is shown the boom but the
front was also fixed.
You only need: Lamination epoxy (not 5-30min regular epoxy ...), carbon,
Abbreisgewebe / peel ply or thick plastic, soft tape electrician type or
icehockey type, 5-10mm brush, mixing cup, 1g weight or better, paper, alcohol,
gloves, knife / scissors, 80 and 120 sanding paper, plastic on the table ...
So...
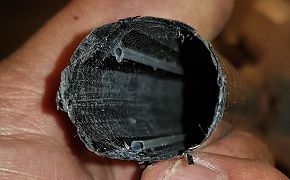
1. Cut the pushrod tube so that they are 10mm from the edge to be glued. This
will allow them to be re-used without joining. You can also use new tube with
metal pushrod and magnets on the outside, but this time it went fine without.
Order a new pushrod from the appropriate supplier (in this case Samba Model).
Here it is carbon pushrod and can therefore be spun up and sent in one letter.
2. Glue together the parts with thin Cyano and kicker. Be sure not to spill too
much so that it does not enter the pushrod tube. View the fuse from the front
and check alignment until you are satisfied. Aiming from the other end of the
body is good enough and you can use the glue line top and bottom to see sideways
deviations. If it looks right it probably is. If not then break off and glue
again. When you are satisfied, fill in the holes with thick glue and kicker. Use
a knife and chop off excess glue before curing completely (1min after kicker).
Then the glue is still soft. If you make a patch on the inside you will get a
much stronger body with minimal material on the outside. The patch can be made
of another body or, for example, the wing skin. Here I have chosen to only use
fabric on the outside so as not to get in the way of pushrod.
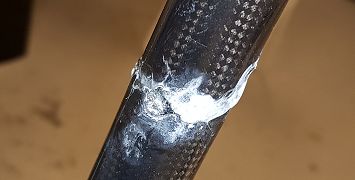
3. Sand all over and make an edge that is sanded down so that it is not
completely sharp. If necessary use some putty, but remember that the carbon
should grab other carbon, not the putty.
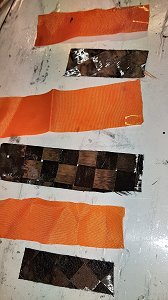
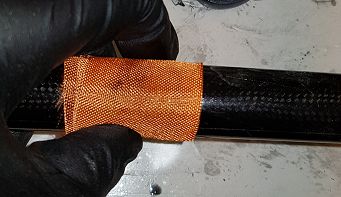
4. Prepare Materials and Cut Them so they are perfect. Here I have chosen 0/90
degrees on body. Other times, maybe 45/45 degrees may be appropriate. Pure
roving could have been better to use here, but cloths are easier to lay down.
Here I have used 200g of cloth that is laid around once with a small overlap.
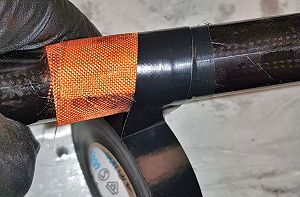
60-100g cloth is easier to spin. Also cut up Abbreisgewebe or Peel ply as it is
also called. It is a polyester fabric that does not attach particularly well to
epoxy and is often used in hingeline. It works here as a suction of excess
epoxy. Here I have chosen to put a small tape on the end that is rolled last.
Then it's easier to get hold of when it is peeled off. If you do not get abbreis
/ peel ply you can also roll on thick plastic. Then you will have shiny surface
once, but do not use too much epoxy.
5. Mix laminating epoxy. Epoxy is not good to breath when mixing, so do it
during fan or out of the window. After it is mixed it should not be "dangerous"
anymore. Most epoxy requires that the curing temperature is at least 25 degrees.
A heat blanket over night does the trick. Here only 1g epoxy was needed, but I
mixed 10grams. Wet out the area with epoxy and wipe lightly with paper again.
Use a small brush (10mm wide eg).
6. Wet out carbon cloth on both sides (leave it on a piece of plastic so you can
lift it from the table) and wipe again with paper. It should not look dry but
not wet either. Wait for eposky to pull through well before putting on the fuse
(3min).
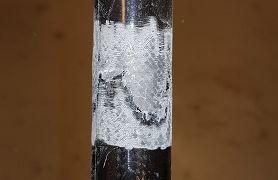
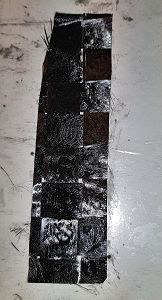
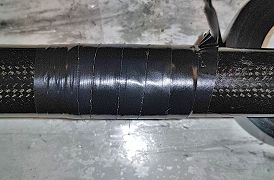
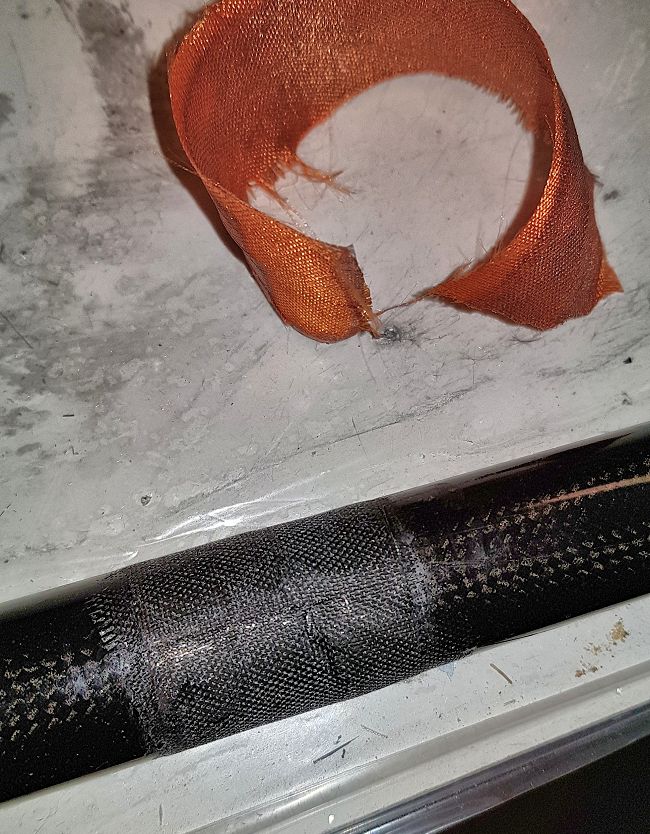
7. Roll on Abbreisgewebe / peel ply and tape tightly from one end to the other
with an electric tape. If you have been using too much epoxy, it will come out
as you tape.
8. Wipe off what you have
spilled of epoxy on the parts. Use alcohol or acetone. It's too late when it's
hardened ...
9. Leave hardener for 24h at 30 degrees (or 12h in 38 degrees as I did) before
removing tape and pulling off abbreisgewebe / peel ply. The shiny tape I had on
the end is nice now to get a good grip on the abbreisgewebe.
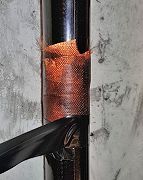
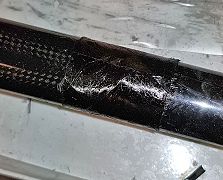
10. Voila, the body can be used again or serves as a spare body. If you want to
paint or sand down to a perfect carbon finish you need to wait atleast 24hours
before you start sanding.
Jo Grini
|